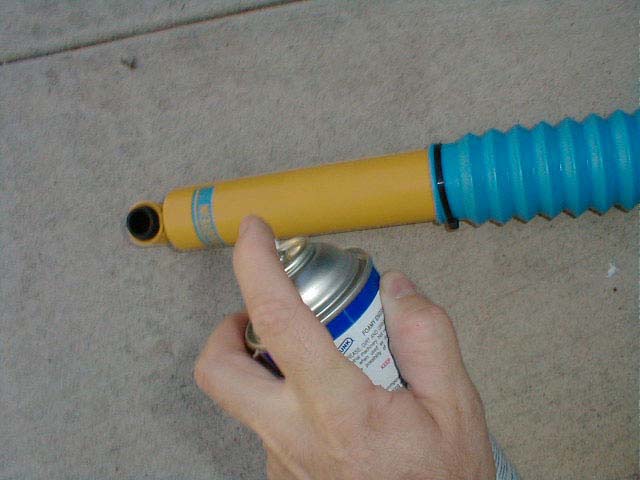

3. Removing the bushings was easier than I expected. While gripping the edge of the bushing with ViceGrips and twisting it, I sprayed a little WD-40 into the void between the twisted bushing and the metal shock eye. This helped to lubricate it while I continued to grab and twist with the ViceGrips.

4. Continue working it out by tugging on the ViceGrips and twisting. It's amazing how resilient this rubber is. After successfully removing the bushing, I wiped all of the WD-40 out of the shock eye. I didn't want the new bushing to have any lubrication - I wanted it to stay in there for good.
5. Unfortunately, I don't have a picture of the new bushing being pushed into the shock eye. I lined it up with hole and used the palm of my hand to press it into the shock eye while my fingers were curled over the top, gripping it. It takes a bit of effort, but they go right in.
