Rancho RS9000X Installation - Part III

This is a pictorial version of the installation that I did on my Tacoma. It is a record of my own personal experience and is NOT intended to be a replacement for the manufacturers installation instructions.


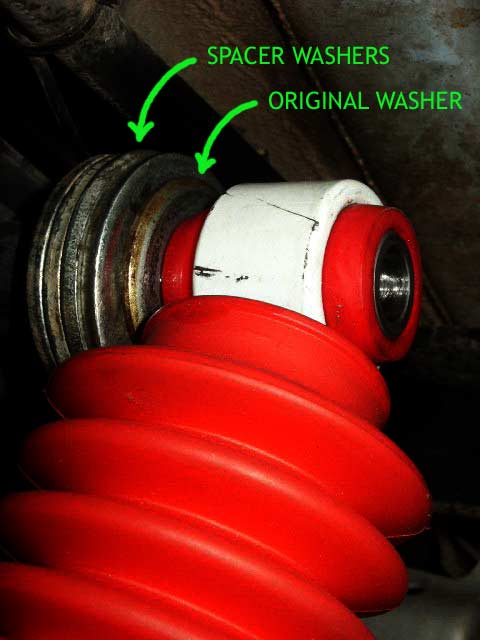
Four of the 3/4" I.D. flat washers are placed on each shock mount, followed by the original (factory) shock washer. These washers will act as a spacer to place the shock further away from the leaf pack. As the shock is spaced further from the original location, a gap is created between the end of the shock stud and the face of the bushing. This gap is filled using the drill bushing. The longer metric bolts are then installed (using the outer shock washer) through the drill bushing and shock bushing, and threaded into the shock stud. A bit of Loc-Tite thread sealant may be added to ensure that the bolts stay tight.

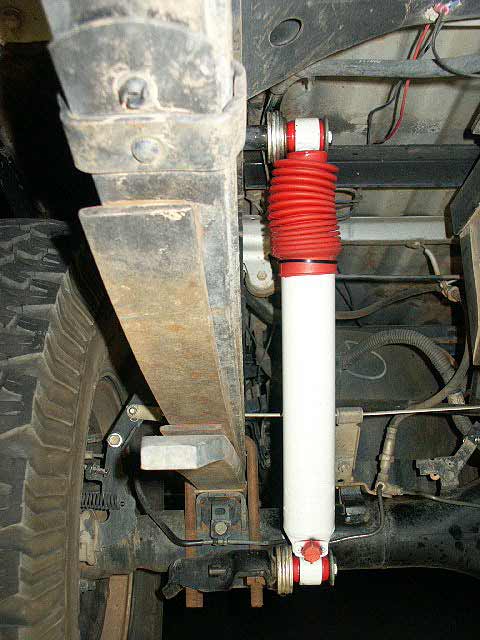
Here is the left side completed. It is easy to see the additional clearance provided by the spacer modification (click for larger pic). Since installing the shocks in this manner, I have been on various trails in Moab, California, and of course Arizona, including the Crown King, Maverick Mountain, DeSoto Mine and Upper Woodpecker trails. I have definitely flexed the suspension fully, and dented shocks have become a thing of the past.
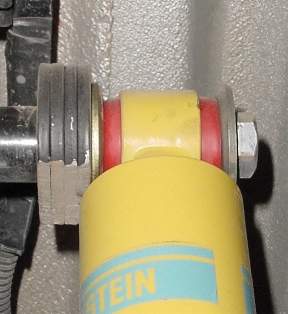
If you do the spacer modification with Bilstein 5100 series shocks, you may need to trim the washers as shown, in order to clear the shock body and allow the shock eye to mount flush on the shims. (Photo courtesy of Mark Griese)

And finally, if you lift the rear suspension (not a body lift), you will also need to raise the Brake Proportioning Valve (BPV) lever approximately the same distance. See the Brake System Modifications page for more info.


Back to the Suspension page

Home