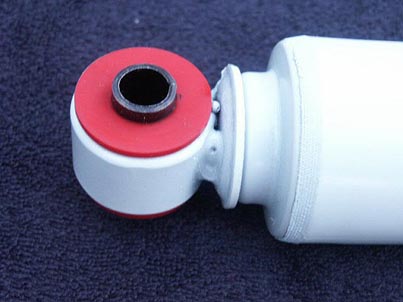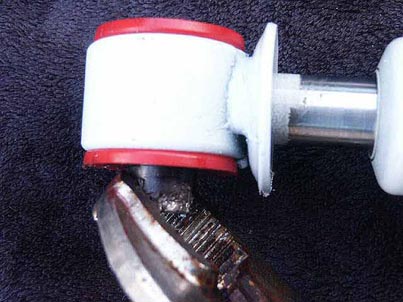

The first step in removing the bushing with the steel sleeve is actually getting the sleeve out. I used some WD-40 lubricant and a pair of vice-grips, twisting and tugging until they finally came free. Oddly, some were easier than others to get out.

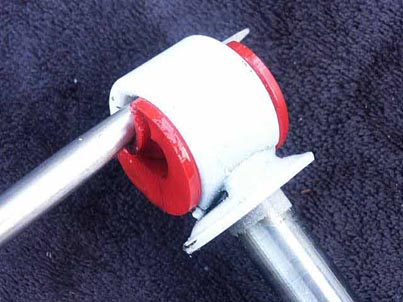
Removing the bushings proved to be a major hassle for me. My friend Rob told me about a trick that he uses, in which a pair of Channel-Lox are inserted with the lower jaw inside the bushing and the outer jaw over the strap (or shock eye). A grip is then placed on the bushing lip while simultaneously rotating the jaws of the Channel-Lox so that the lower jaws swing out from the shock eye, pulling the bushing with them. I could not get this method to work with a pair of Craftsman Robo-Grips, so I came up with a different method. I used a liberal amount of WD-40, a BIG screwdriver (no, nothing to do with Vodka) and a ball-peen hammer. I wedged the blade of the screwdriver between the strap (shock eye) and bushing, and then hammered on the screwdriver until the blade came out of the other end. Then, using a prying motion, twisted the bushing right out of the mount.
