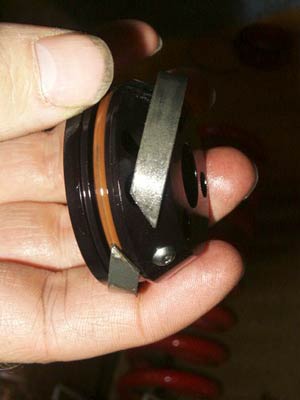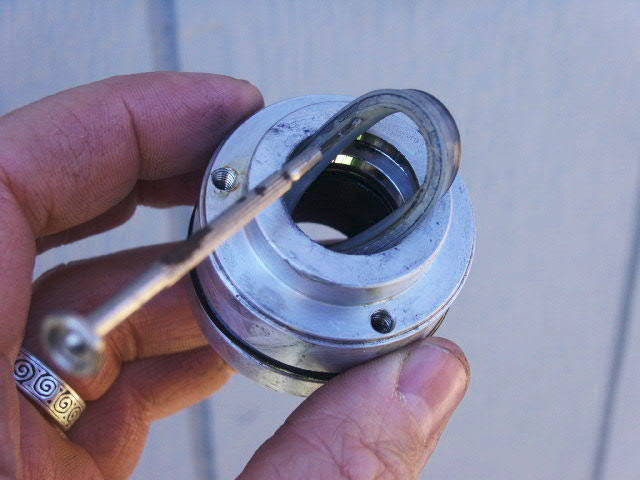

Here is a detail of the seals on the seal carrier that you will be replacing. Replace the inner o-ring first, and then the outer. (click pic to enlarge.)

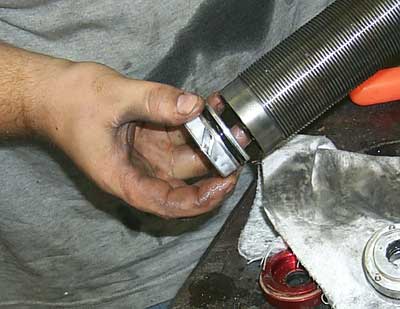
As I mentioned on the first page, I skipped this next step, but I suggest that it be done. Since doing mine, some of the So-Cal TTORA members clued me in on how to get the last piece out of the bottom of the can for o-ring replacement, and they provided me with this picture. (Thanks fellas!) The piece in question is a piston of sorts, that splits the can into two chambers. The bottom chamber contains the pressurized nitrogen, and the upper chamber contains the shock oil, seal carrier, and piston. This part is removed by using compressed air to "push" it out of the can. The picture shows this piece as it came out of the top of the can. You can see the black o-ring on it that needs to be replaced. Just hook an air hose up to the schrader valve and give it a little air (a little at a time - you don't want a cannon).

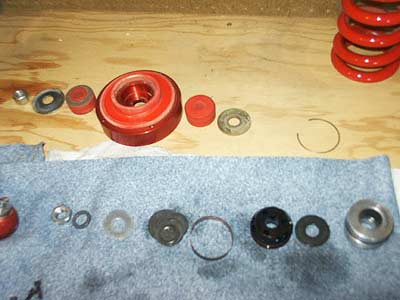
At this point, all of your parts are ready to be put back together, and should be organized and ready to go. Now is the time to put the can back into the vice and fill it with oil. Fill it to about 1" below the circlip groove. You will need to place a thick rag around the can to catch any oil spill when you replace the shaft assembly. Put the shaft assembly back together in the reverse order of removal.
